Summary
We prepare the Virtual Machine (VM) that can be used immediately as a server for trial and learning of INTER-Mediator. The informmation of VM is described in this document. You can use it by creating the VM yourself, or by downloading the already created VM.
This virtual machine is described in a place where you can see the login account etc., assuming that it is used only within a specific host. Since you can edit definition files and page files for easy to learn with the browser, please never publish "INTER-Mediator-Server VM" distributed as Virtual Machine to the Internet as it is.
Preparation to use
VM provides for VirtualBox. Please install the application type VirtualBox on your personal computer as below.
Installing VirtualBox
"VirtualBox" of Virtual Machine execution environment available on Windows, Mac, Linux, Solaris is developed by Oracle Corporation and is distributed freely in some circumstance. Please download VirtualBox corresponding to your host computer from this page.
INTER-Mediator-Server VM download
Please download INTER-Mediator-Server VM from the link below.
- INTER-Mediator-Server VM 8(About 2.3GB, Latest update: 2021-07)
- INTER-Mediator-Server VM 5.12(About 880MB, Latest update: 2021-05-29)
Preparing the VM
To create your own VM using scripts included in INTER-Mediator by yourself, you can refer the "Create your own VM and start it yourself" section. If you want to use the VM that someone already made, it's described on "Downloading and using VM" section. Of course, you can use the VM by doing one of the tasks, so use it according to the situation.
Download and use VM
The following procedure assumes the initial state of VirtualBox. Procedures may be different if there are various settings due to other uses etc, but in principle, prepare a host-only network and set up the VM to start using it. The downloaded VM can be used regardless of platform regardless of macOS or Windows. However, in the case of FileMaker Server, the IP address of the VM and the host side must be the same as the setting done below.
Preparing VirtualBox
There are several network environments of guests running on VirtualBox, but we use "host-only network". With this method, the guest OS itself can't be accessed from outside the host machine. It is just possible to connect from the guest OS to the host OS. Since it is assumed that the created VM is a host-only network, if you use it with other settings, you need to deal with it yourself by checking the status of the VM.
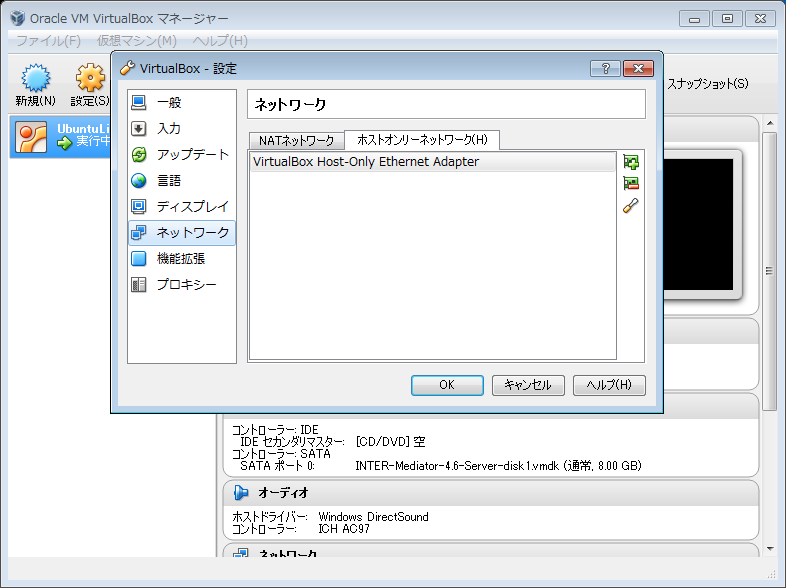
On Windows, "Host-only network" has been created from the beginning. For confirmation, select "Preferences" from the "File" menu, select "Network" on the left side of the dialog box, and select the "Host Only Network" tab. Please check that there is "VirtualBox Host-Only Ethernet Adapter" from the beginning there.
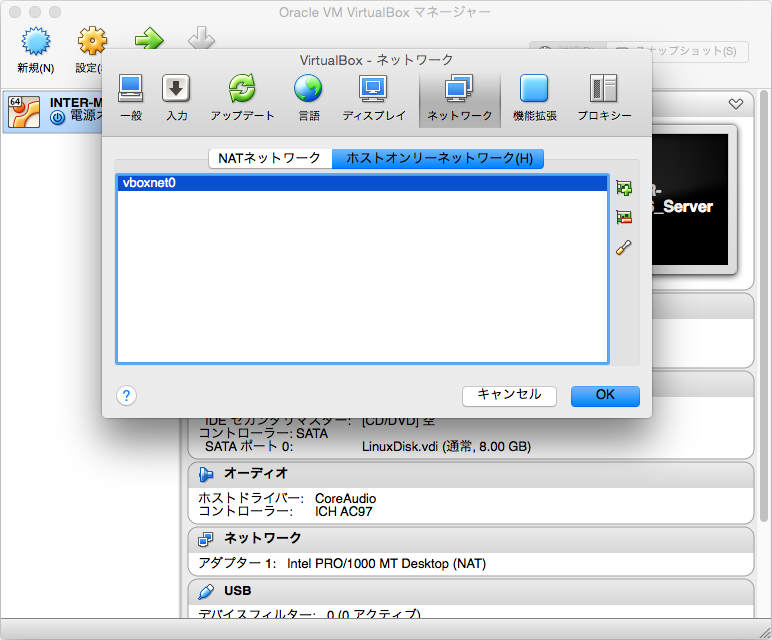
On the Mac version, there is no "host-only network" at the beginning. Select "Preferences" on the "VirtualBox" menu to display the dialog box. Select "Network" on the tool bar. In addition, select the "Host Only Network" tab. If there is nothing here, click one of the three icons on the right side of the list to create one item. You usually don't have to modify the setting of newly created item.
Loading the downloaded .ova file
For both Windows and Mac, choose Import Virtual Appliance from the File menu. Then, specify and load the downloaded file and confirm that a new item is created on the left side of "VirtualBox Manager" screen.
INTER-Mediator-Server VM network settings
In VirtualBox Manager, select the item of INTER-Mediator-Server VM that you have imported. Then click the "Settings" icon on the tool bar. The screen of the Virtual Machine setting will be displayed.
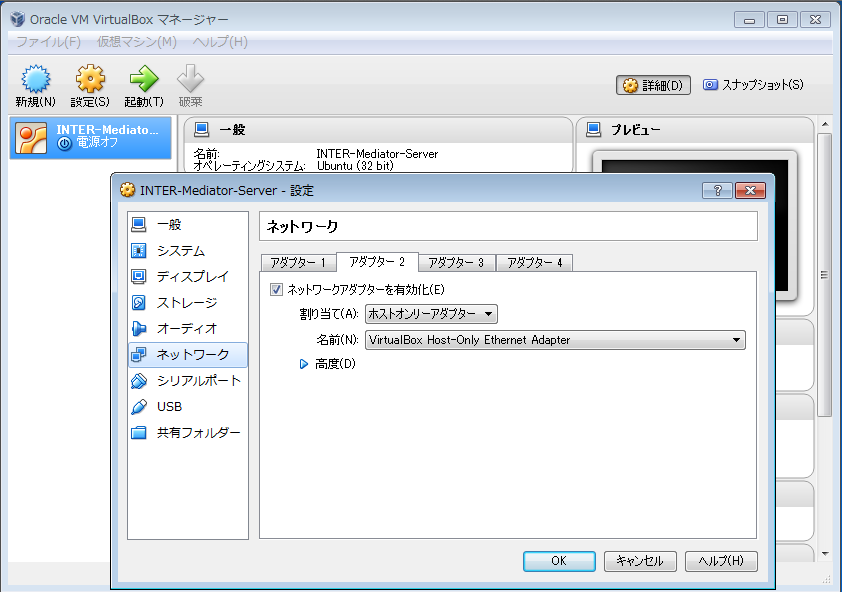
On Windows, select "Network" in the list on the left side of the screen, and further select the "Adapter 2" tab. Then select "Host Only Adapter" from the "Assign" pop-up menu. Then, the name defined in "Host Only Network" is automatically visible in "Name". Confirm that point and click the OK button.
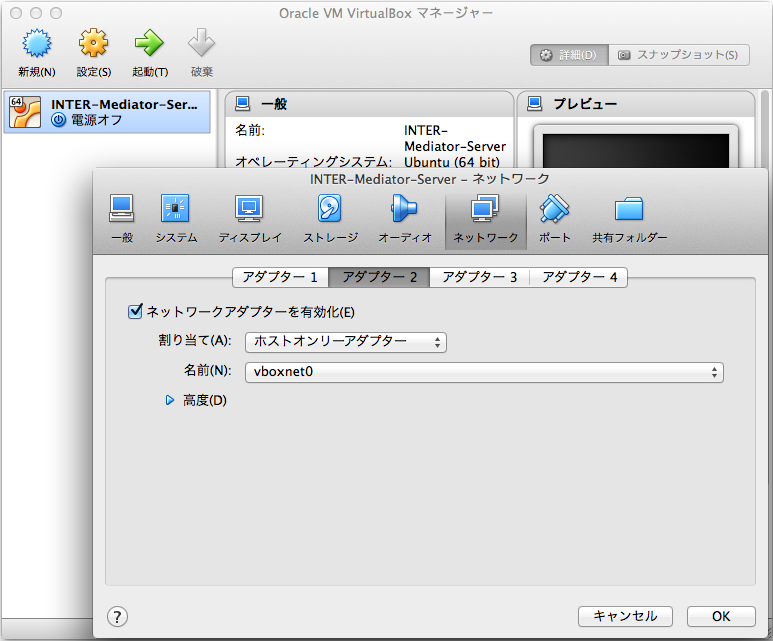
For Mac, select "Network" on the toolbar and further select "Adapter 2" tab. Then select "Host Only Adapter" from the "Assign" pop-up menu. Then, the name defined in "Host Only Network" is automatically visible in "Name". Confirm that point and click the OK button.
Using INTER-Mediator-Server VM
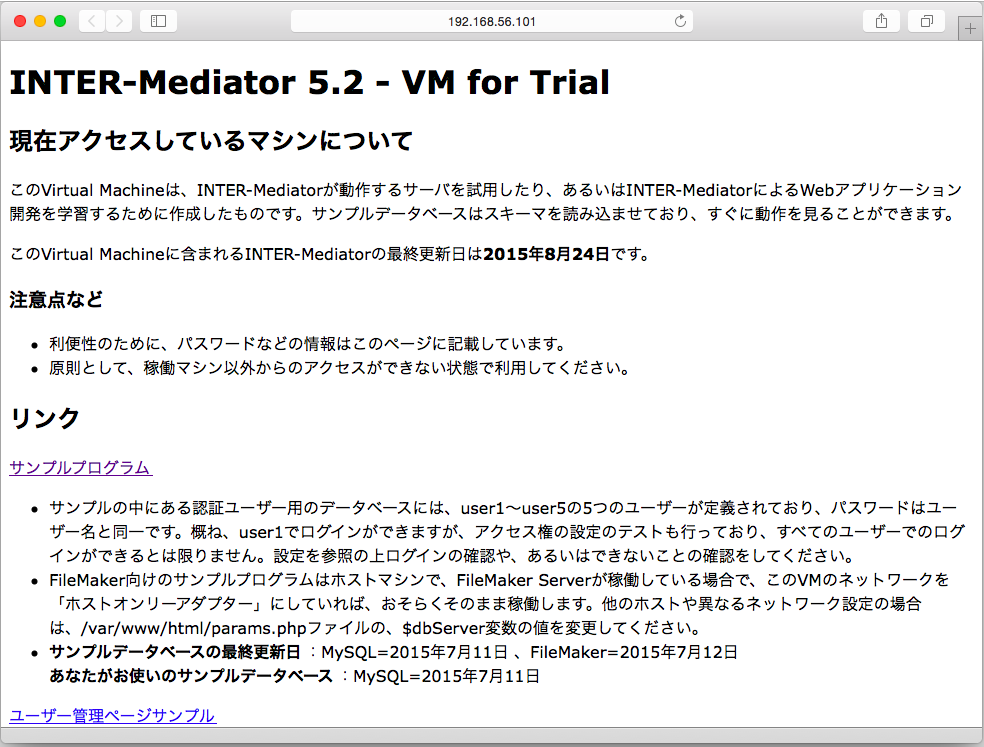
Once you are ready, select the INTER-Mediator-Server VM item in the VirtualBox Manager and click on the "Launch" button. Characters start flowing on the black console screen. The login prompt is displayed. Please connect to http://192.168.56.101 from the web browser. Then, there are pages that you can see the functions available in this INTER-Mediator-Server VM.
From the "Sample Program" link, you can immediately activate the contents of INTER-Mediator's Samples folder. If FileMaker Server is running on the host side, you have to upload the dist-docs/TestDB.fmp12 in the INTER-Mediator distribution, and XML and PHP Sharing is available. If FileMaker Server is not running, FileMaker Server sample will show any errors.
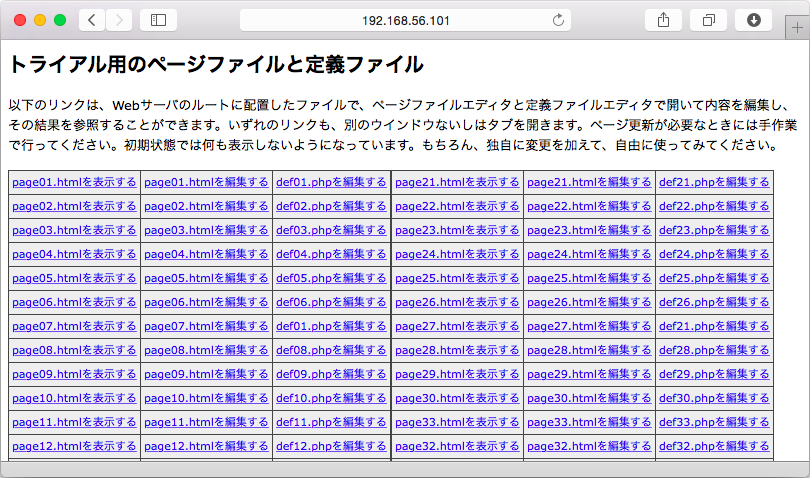
You can modify the definition file and page file on the Web browser to see the result of actual codes. For example, a link that edits page01.html, as well as a link that opens page01.html of a page file, displays an HTML editor. Also, def01.php is a definition file referred to by the SCRIPT tag from page01.html, and it can be modified by opening the definition file editor.
If you can not connect to "http://192.168.56.101"
If the INTER-Mediator-Server VM is running, try logging in with the user name "developer" and password "im4135dev" and execute the "ifconfig" command. You can see the IP address currently used by the INTER-Mediator-Server VM. The IP address after the "inet addr" in the chunk written as eth1 is the IP address of the current guest OS. Please start the web browser on the host side and try connecting with that IP address.
Even so, the following things are possible.
- In the first place, VirtualBox itself does not work properly. Virtualization function is disabled on Windows, Hyper-V is enabled on Windows 10, Windows is running on VM that runs on VMware, and you tried to use INTER-Mediator-Server VM.
- The network settings described so far have not been done correctly. Or, you changed that kind of setting before.
- IP connection from the host to the guest is disabled due to some setting. Depending on the setting in VirtualBox, it is considered possible.
Operate your own files
The login account is written at the end on the page connected to "http://192.168.56.101". Please use it. It seems easy to transfer files with SFTP. Also log in to the INTER-Mediator-Server VM itself and load your own database schema. The database management account is also described on the page connected to "http://192.168.56.101".
Update INTER-Mediator
Please connect to "192.168.56.101" by ssh on the host machine. The user name is "developer" and the password is "im4135dev". For example, in case of macOS, enter the command "ssh developer@192.168.56.101" in the "terminal" application, and the password will be asked afterwards, so we will key type. For Windows, please use applications such as TeraTerm or PuTTY.
For the INTER-Mediator-Server VM after INTER-Mediator Ver.5.2 (including Ver.5.2-RC3), enter the command as follows.
 cd /var/www/html/INTER-Mediator
git pull origin stable
For INTER-Mediator Ver.5.2-RC1 and earlier INTER-Mediator-Server VM, enter the command as follows. Be sure to include spaces and dot (git checkout .) after "checkout."
 cd /var/www/html/INTER-Mediator
git checkout .
git pull origin stable
The latest stable version of INTER-Mediator in GitHub's repository is reflected in VM. To reflect the latest status of development version, execute "git checkout master;git pull origin master" instead of "git pull origin stable". For the current version, check INTER-Mediator and the version description at the beginning of the script called dist-docs/build.sh. The final commit reflected is git log or git show command, gets the identifier of the current commit (very long hexadecimal code followed by commit) and got the repository of GitHub. In the case of Ver.5.1 or earlier, the access right setting is slightly different. There is no problem in editing the page file and the definition file which are originally prepared, but please review the access right if you added the file yourself.
(FYI) Create and run the VM yourself
The INTER-Mediator distribution file contains scripts etc. for generating VMs. This is the best way to create a VM with the latest INTER-Mediator. Please note that the script does not run even when Vagrant is installed under Windows in the standard environment (you need to install an application such as Git for Windows separately and run ssh).
- Install Vagrant. Go to the this page and download and install the application corresponding to the OS you want to use. Just install it and it's okay.
- Clone the latest version of INTER-Mediator. It's easy to use the "Clone in Desktop" button on the this page.
- As far as macOS goes, start the terminal application and move to the dist-docs/vm-for-trial folder in the clone of INTER-Mediator repository.
- Run "vagrant up" command. It takes time to download and create. It is about 20 minutes. It's ready when "INTER-Mediator-Server VM is ready." Is displayed.
- Run "vagrant box remove INTER-Mediator-Server" command if you want to remove the downloaded box file.